The Ultimate Guide: How to Beautifully Photograph Your Walls for Artwork Mockups
How to photograph your walls for artwork mockups might sound like a small detail, but it’s one of the most powerful parts of the Diamondview experience. With just a few simple photos, we can show you exactly how your portraits will look — to scale — on your own walls before you order. This process helps you confidently choose the perfect size, layout, and frame style for your home.
In this guide, you’ll learn how to photograph your walls for artwork mockups step by step. It only takes a few minutes, and the results are absolutely worth it!
If you are sending your wall photos in preparation for your Session Premiere, please plan to send them at least 1 day in advance of your appointment.

What You’ll Need
A Quick Note from Emily
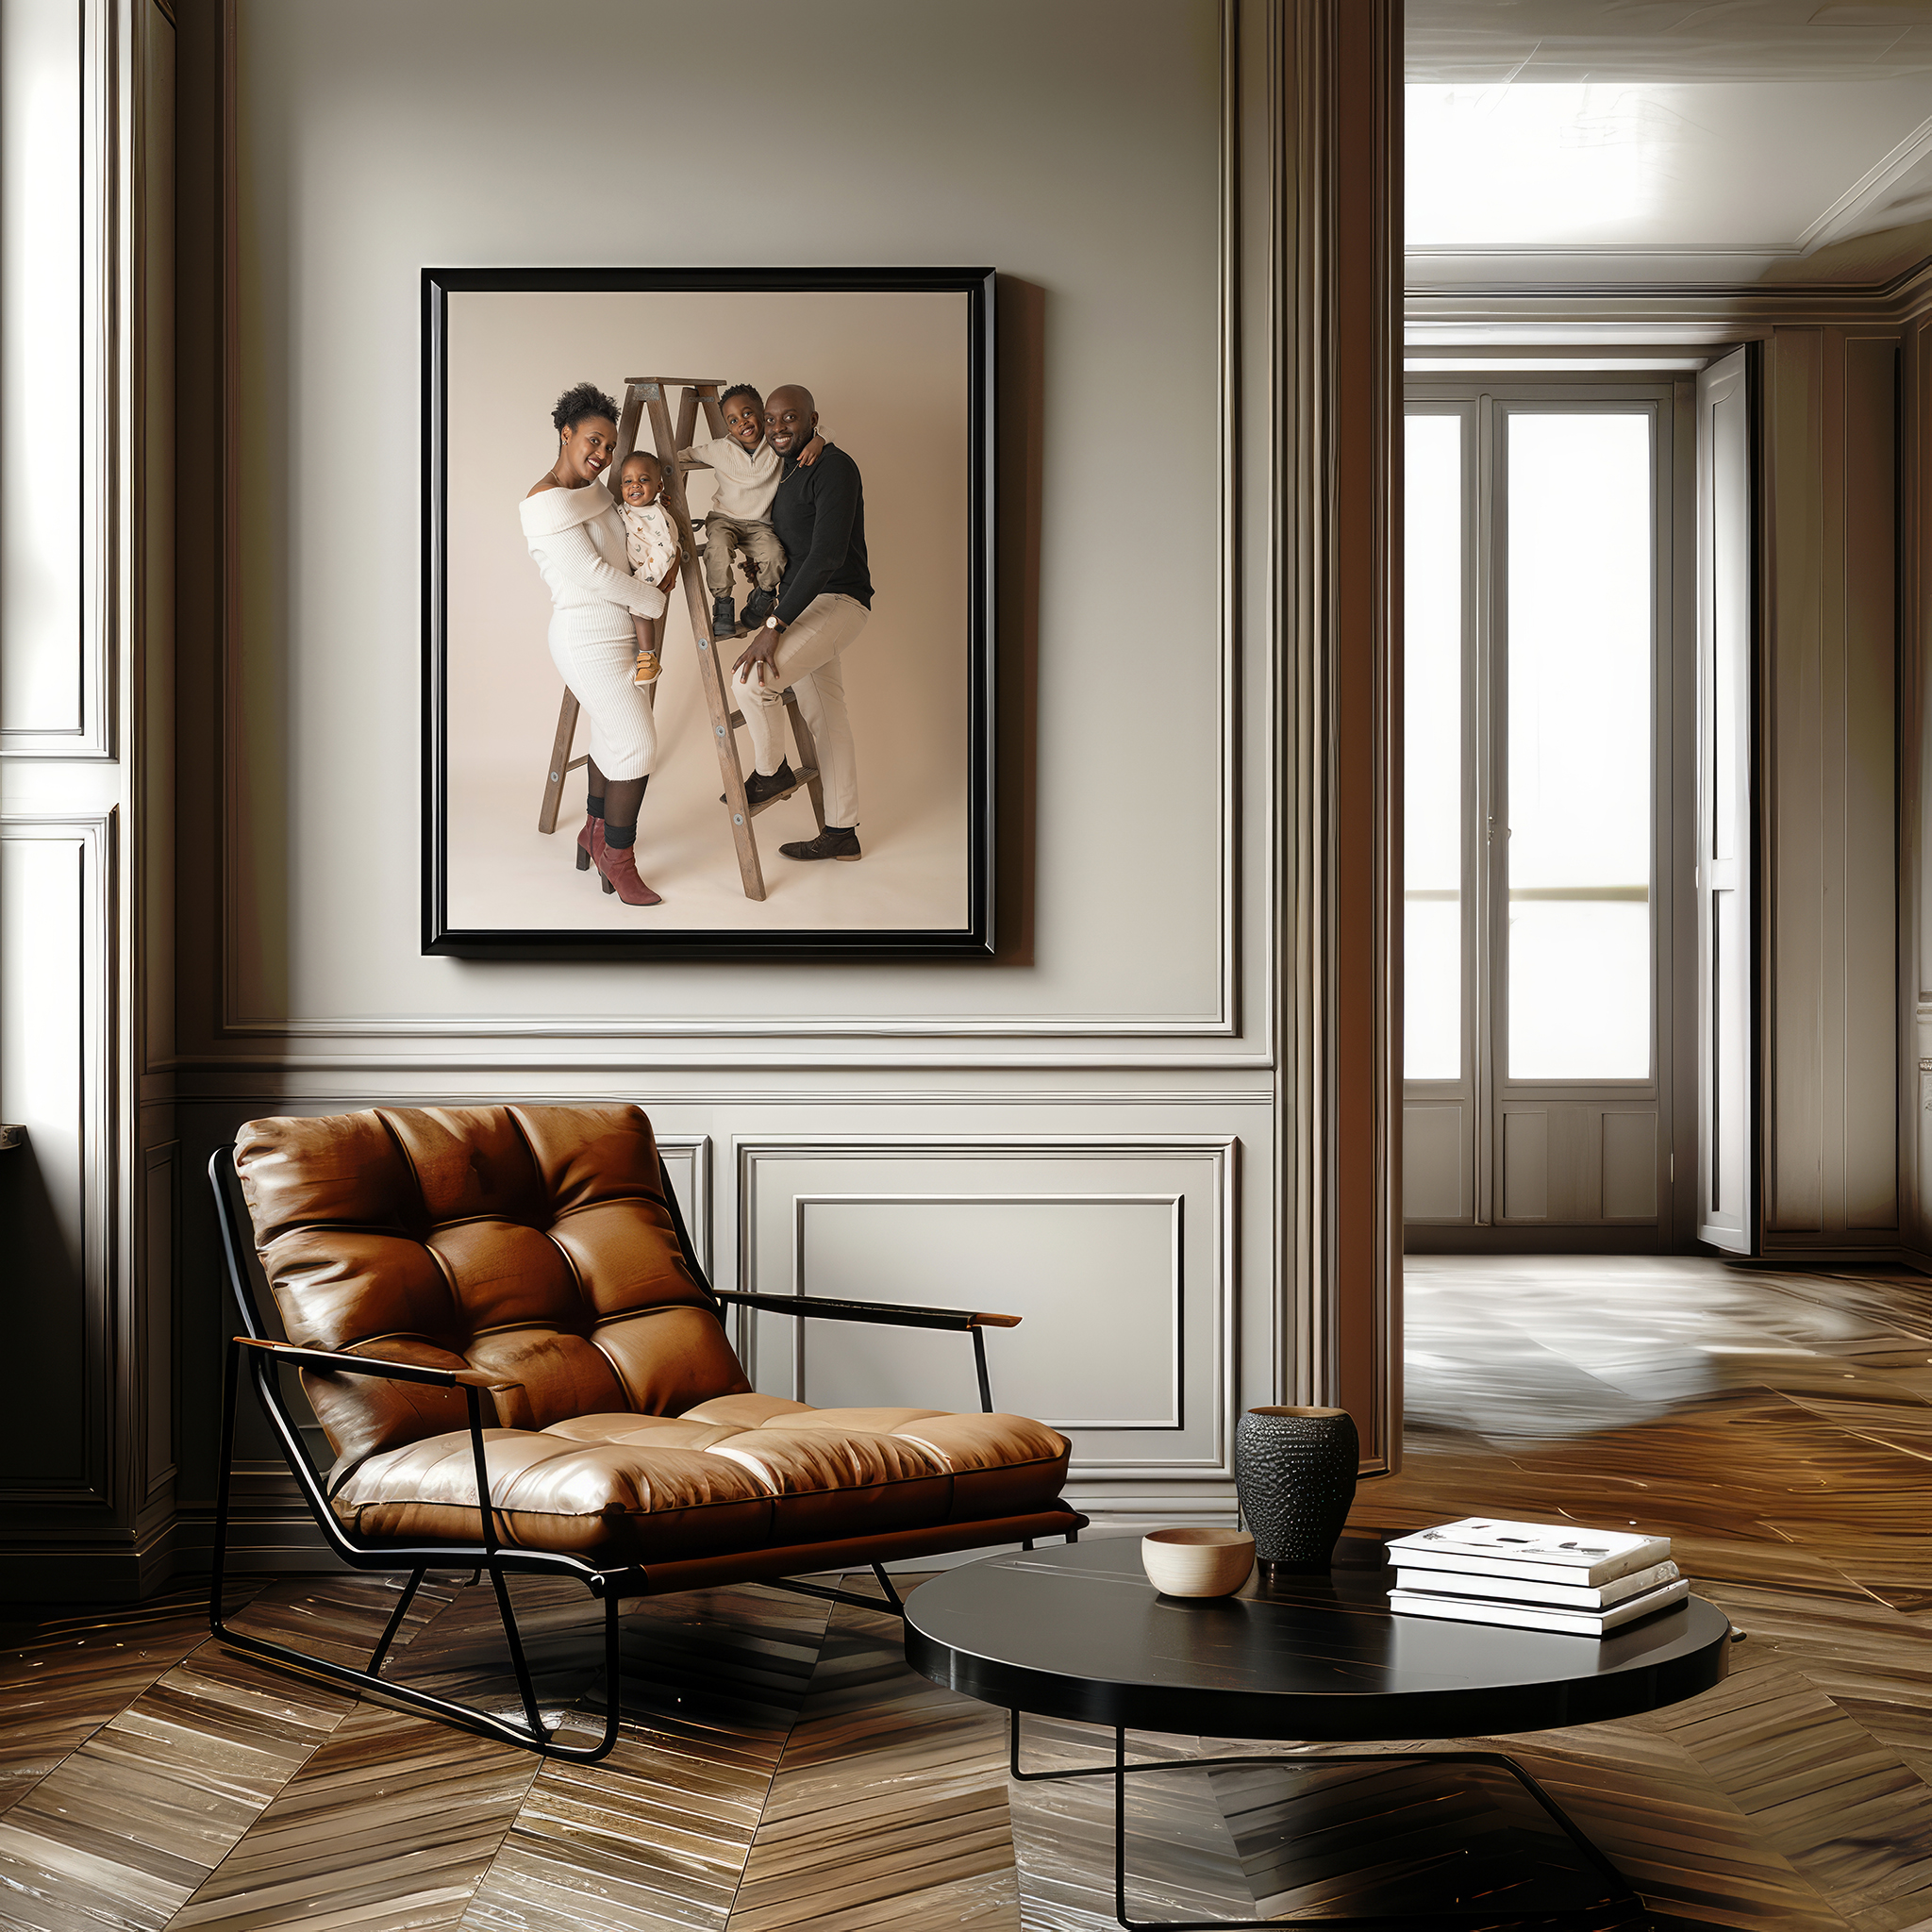
When I decided to add a framed photo from my own recent family session to hang in my office at the studio, I used this exact same process. I taped a sheet of paper to my wall, took a few photos, and imported them into my design software. Seeing the artwork to scale helped me choose the perfect size and frame — and that’s why I love helping my clients do the same when they learn how to photograph their walls for artwork mockups.

Step-by-Step: How to Photograph Your Walls for Artwork Mockups
Follow these simple instructions to get clear, accurate photos we can use to create your wall art mockups:
1. Place the paper for scale
Tape the 8.5″ x 11″ sheet of paper to the wall where you’re considering hanging your artwork. Place it roughly at the centre of where the artwork will go, and smooth it flat so there are no folds or curls.
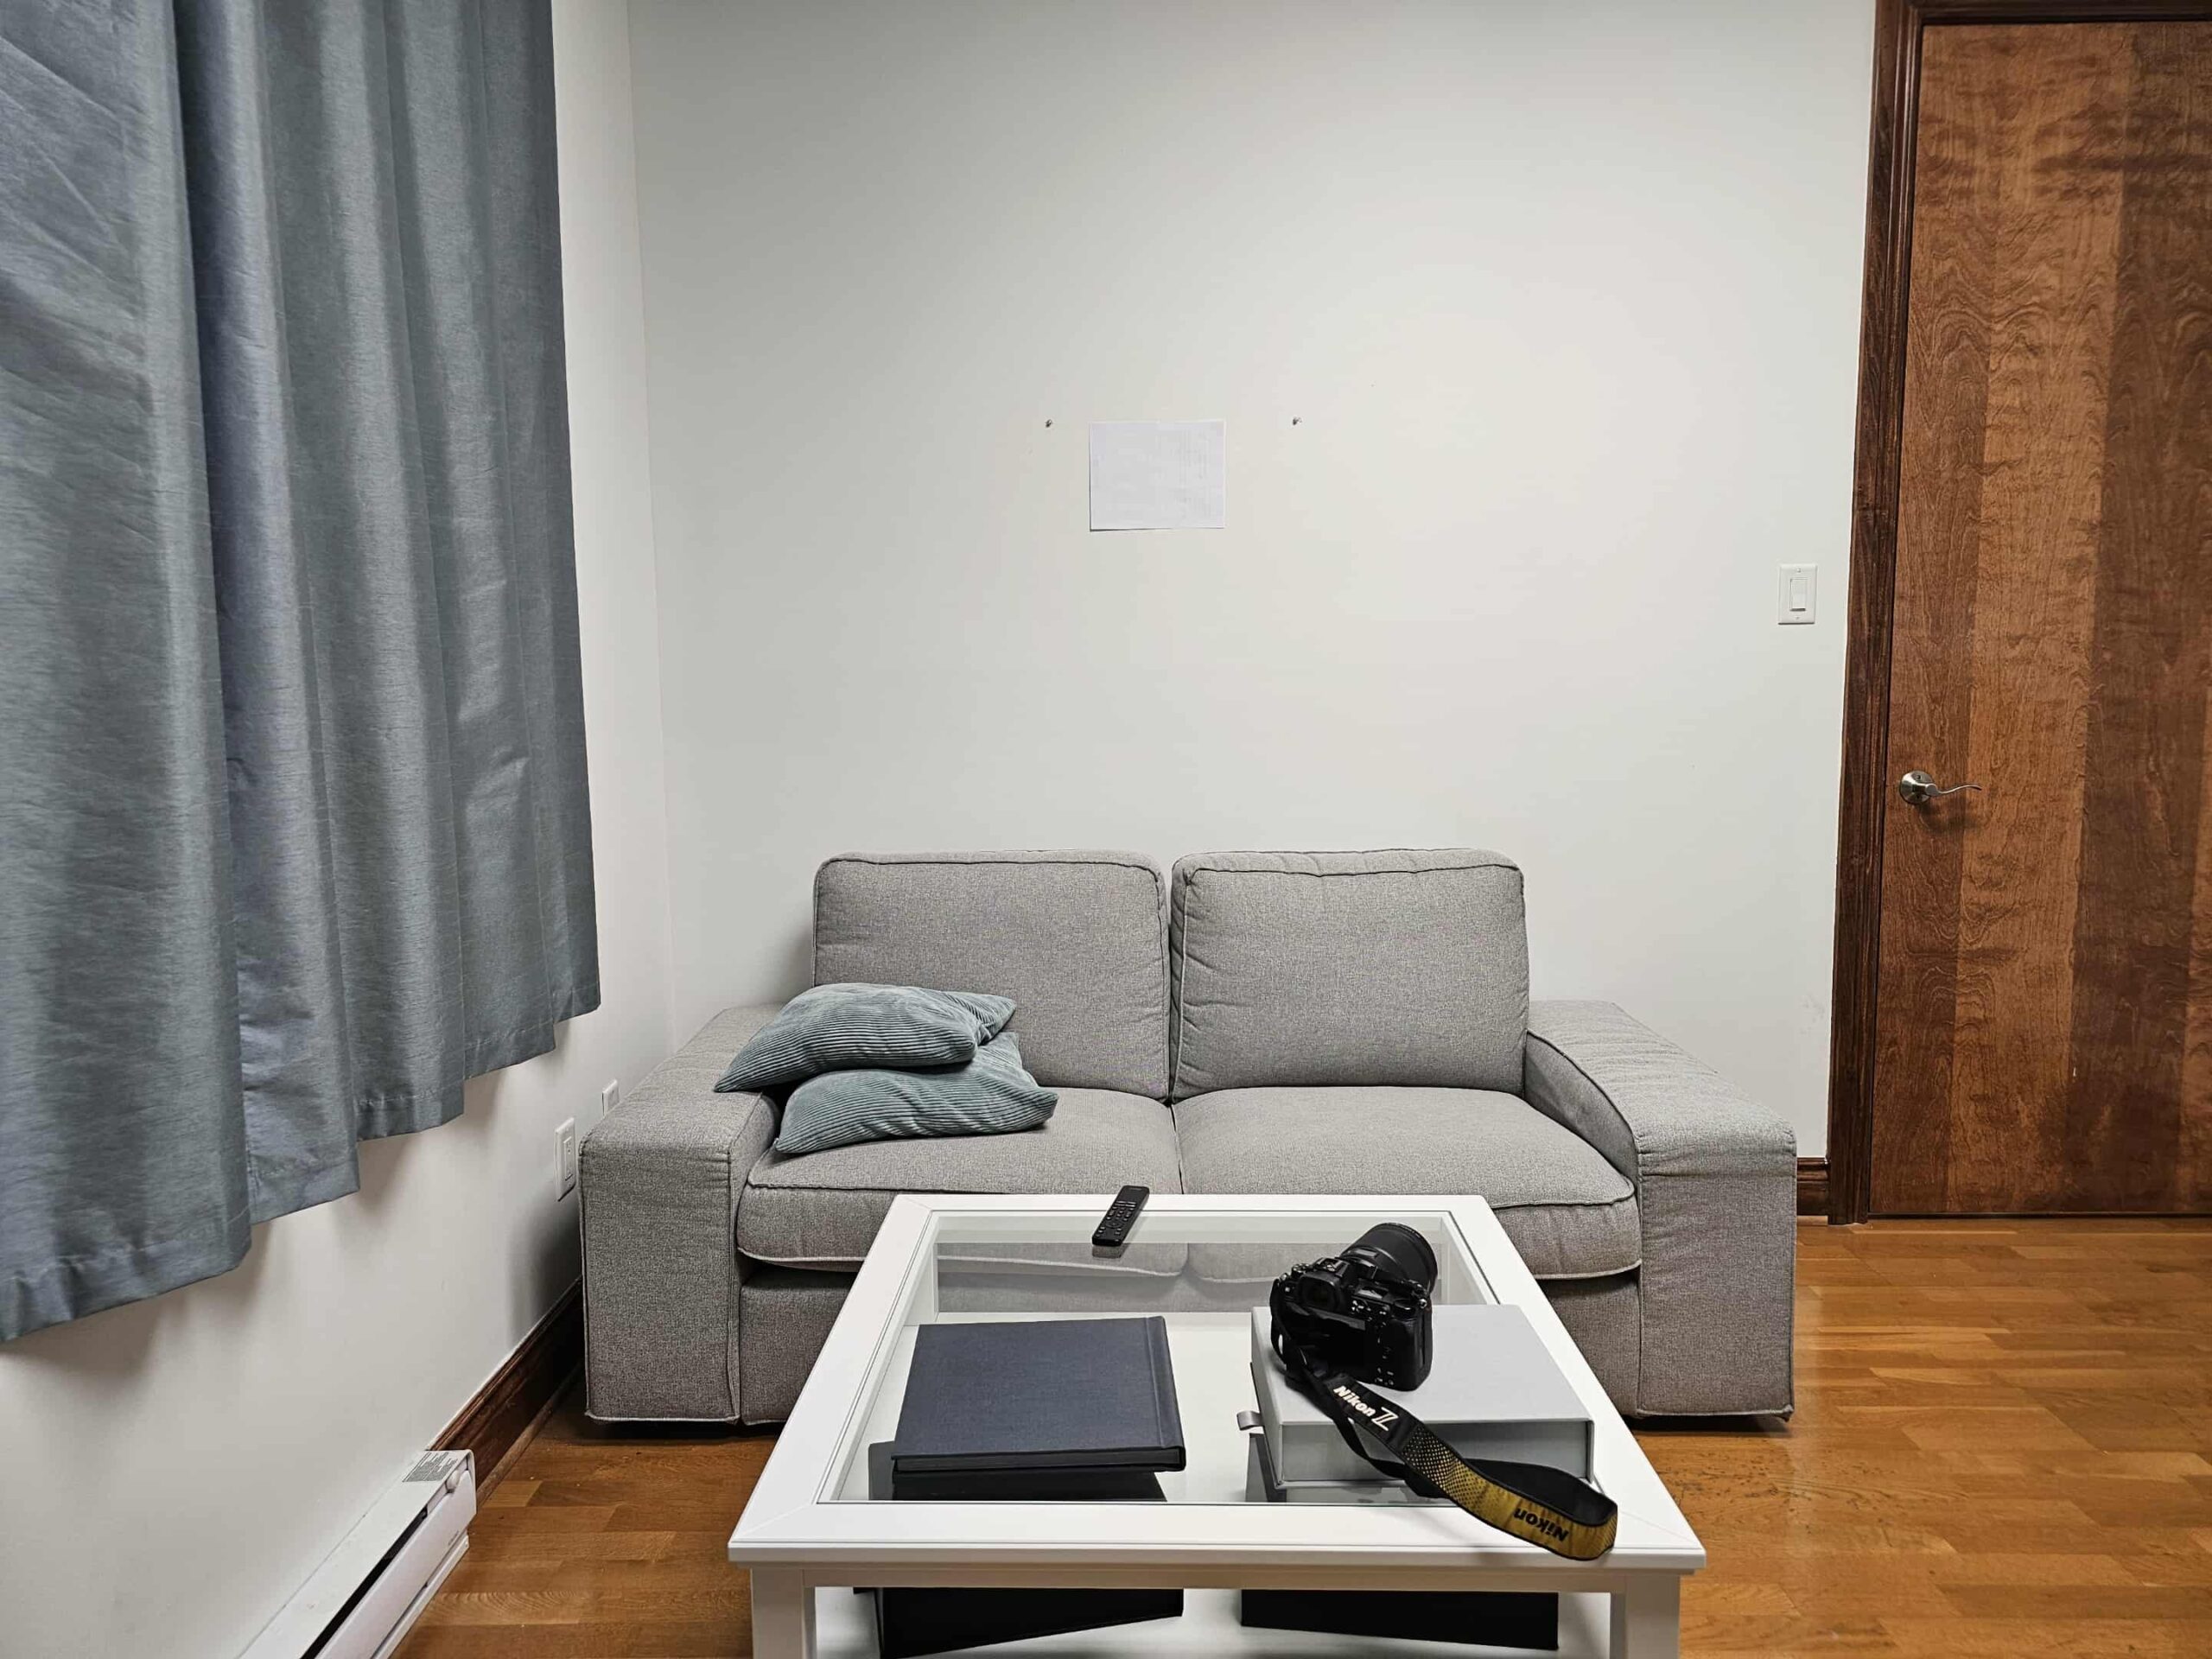
2. Turn your phone horizontal
Hold your phone landscape (horizontal) — this gives us a wide, accurate view of the space.
3. Stand straight-on to the wall
Position yourself directly facing the wall with the paper. Try to keep your phone level (not angled up or down). Tip: Turn on your camera’s grid or level feature to help line things up evenly.
4. Step back — and then step back a little more
Stand as far back as you can, capturing the entire wall and some surrounding furniture (sofa, side table, bed frame, etc). This is key for realistic artwork mockups.
5. Take the photo
Tap to focus on the wall, and take the photo in good, even light. Avoid flash if it creates glare — natural or room lighting works best.
6. Take a couple of extras (optional)
If you’re considering multiple walls, repeat these steps for each one.
7. Check the photo before sending.
Zoom in — make sure the paper is visible and the image is clear and bright.
How to Send Your Photos
Click the button below to submit your wall photo(s).
Bonus Tips for Perfect Wall Photos
Why It’s Important to Learn How to Photograph Your Walls for Artwork Mockups
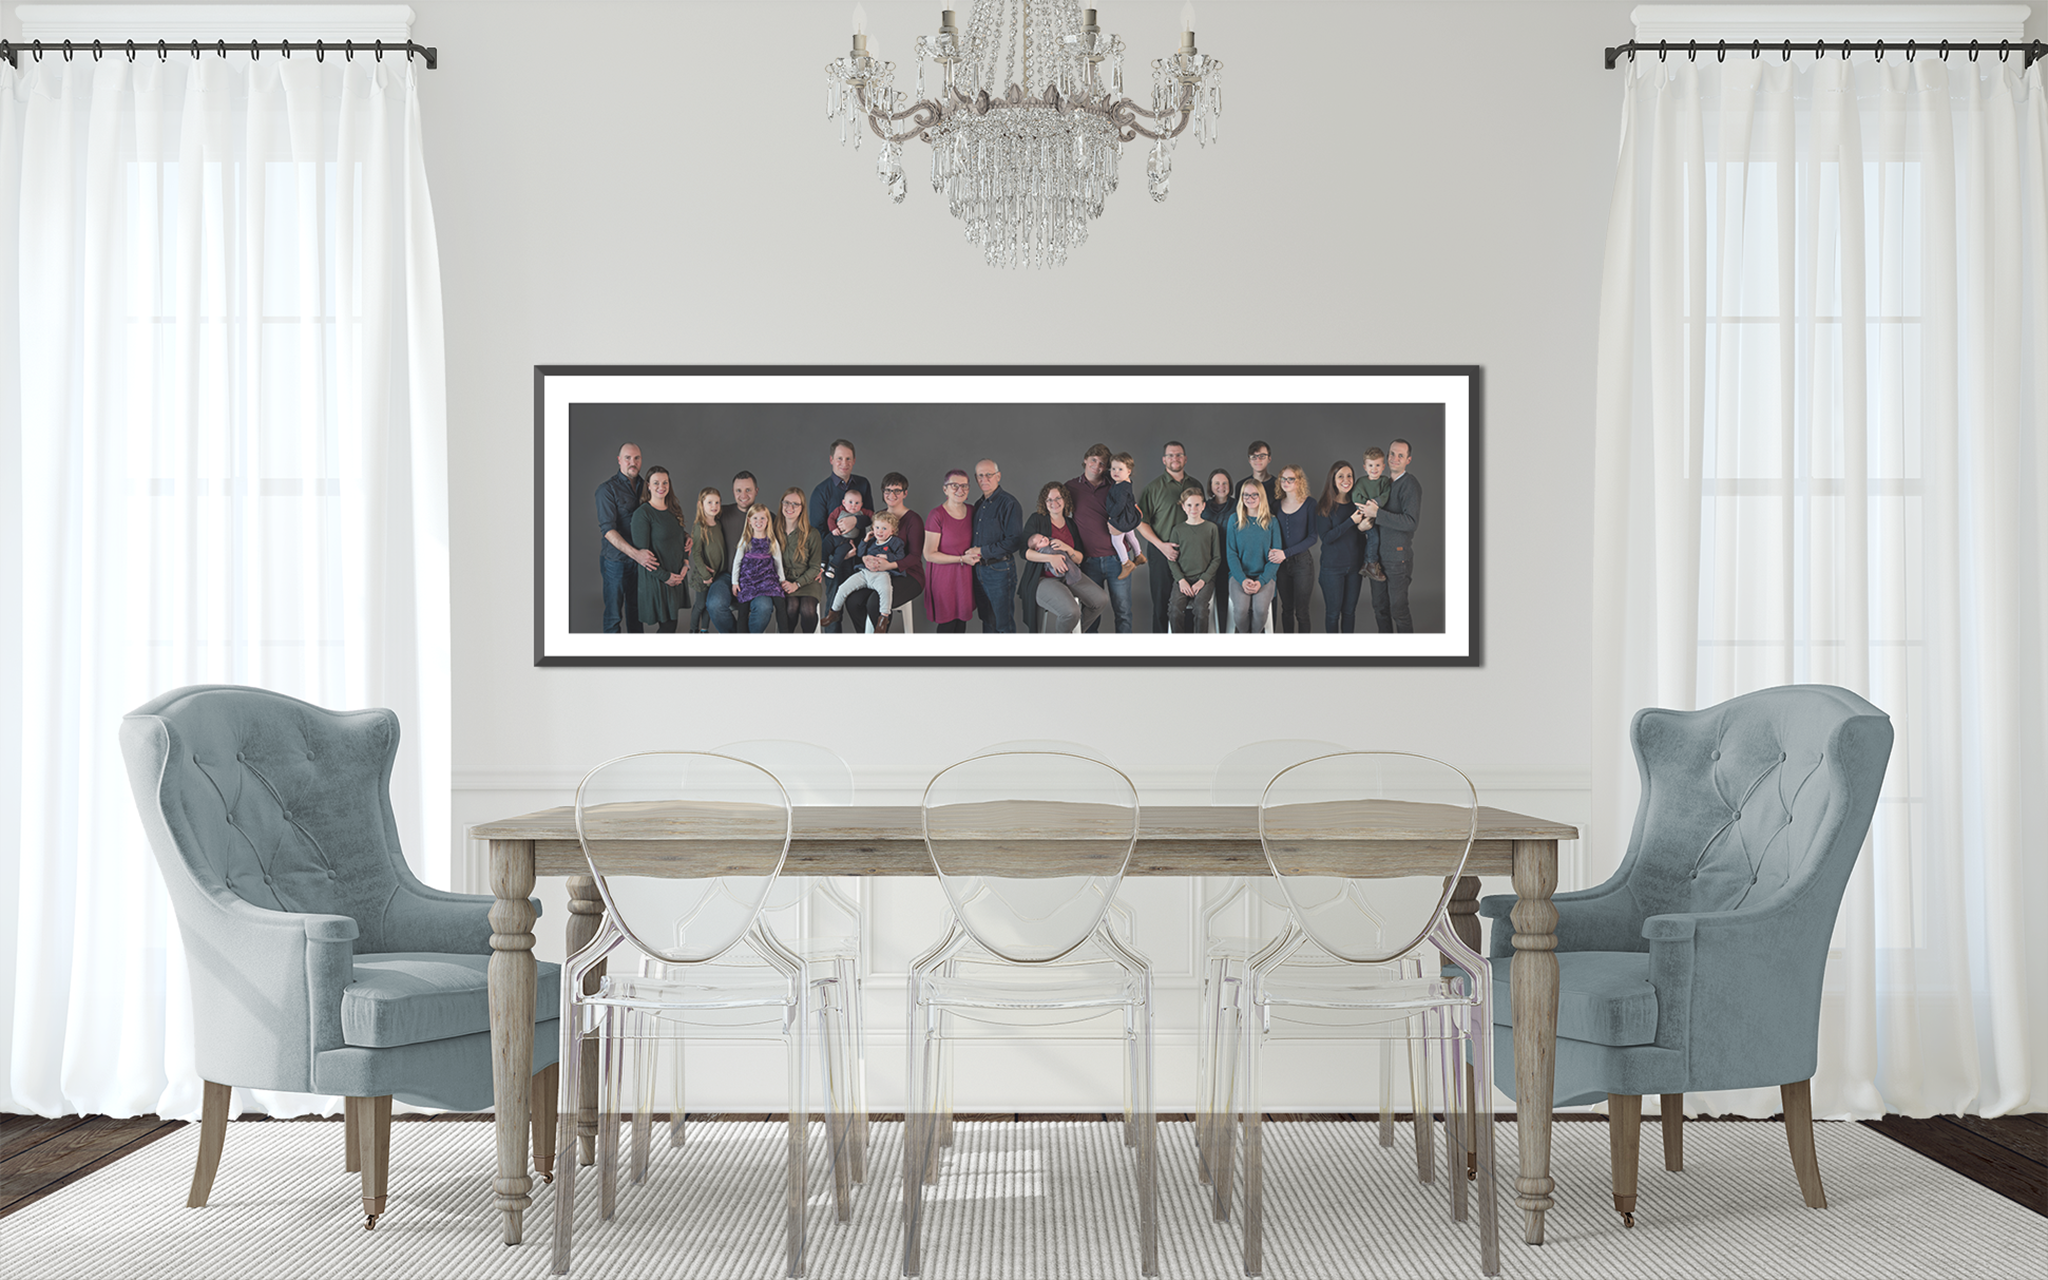
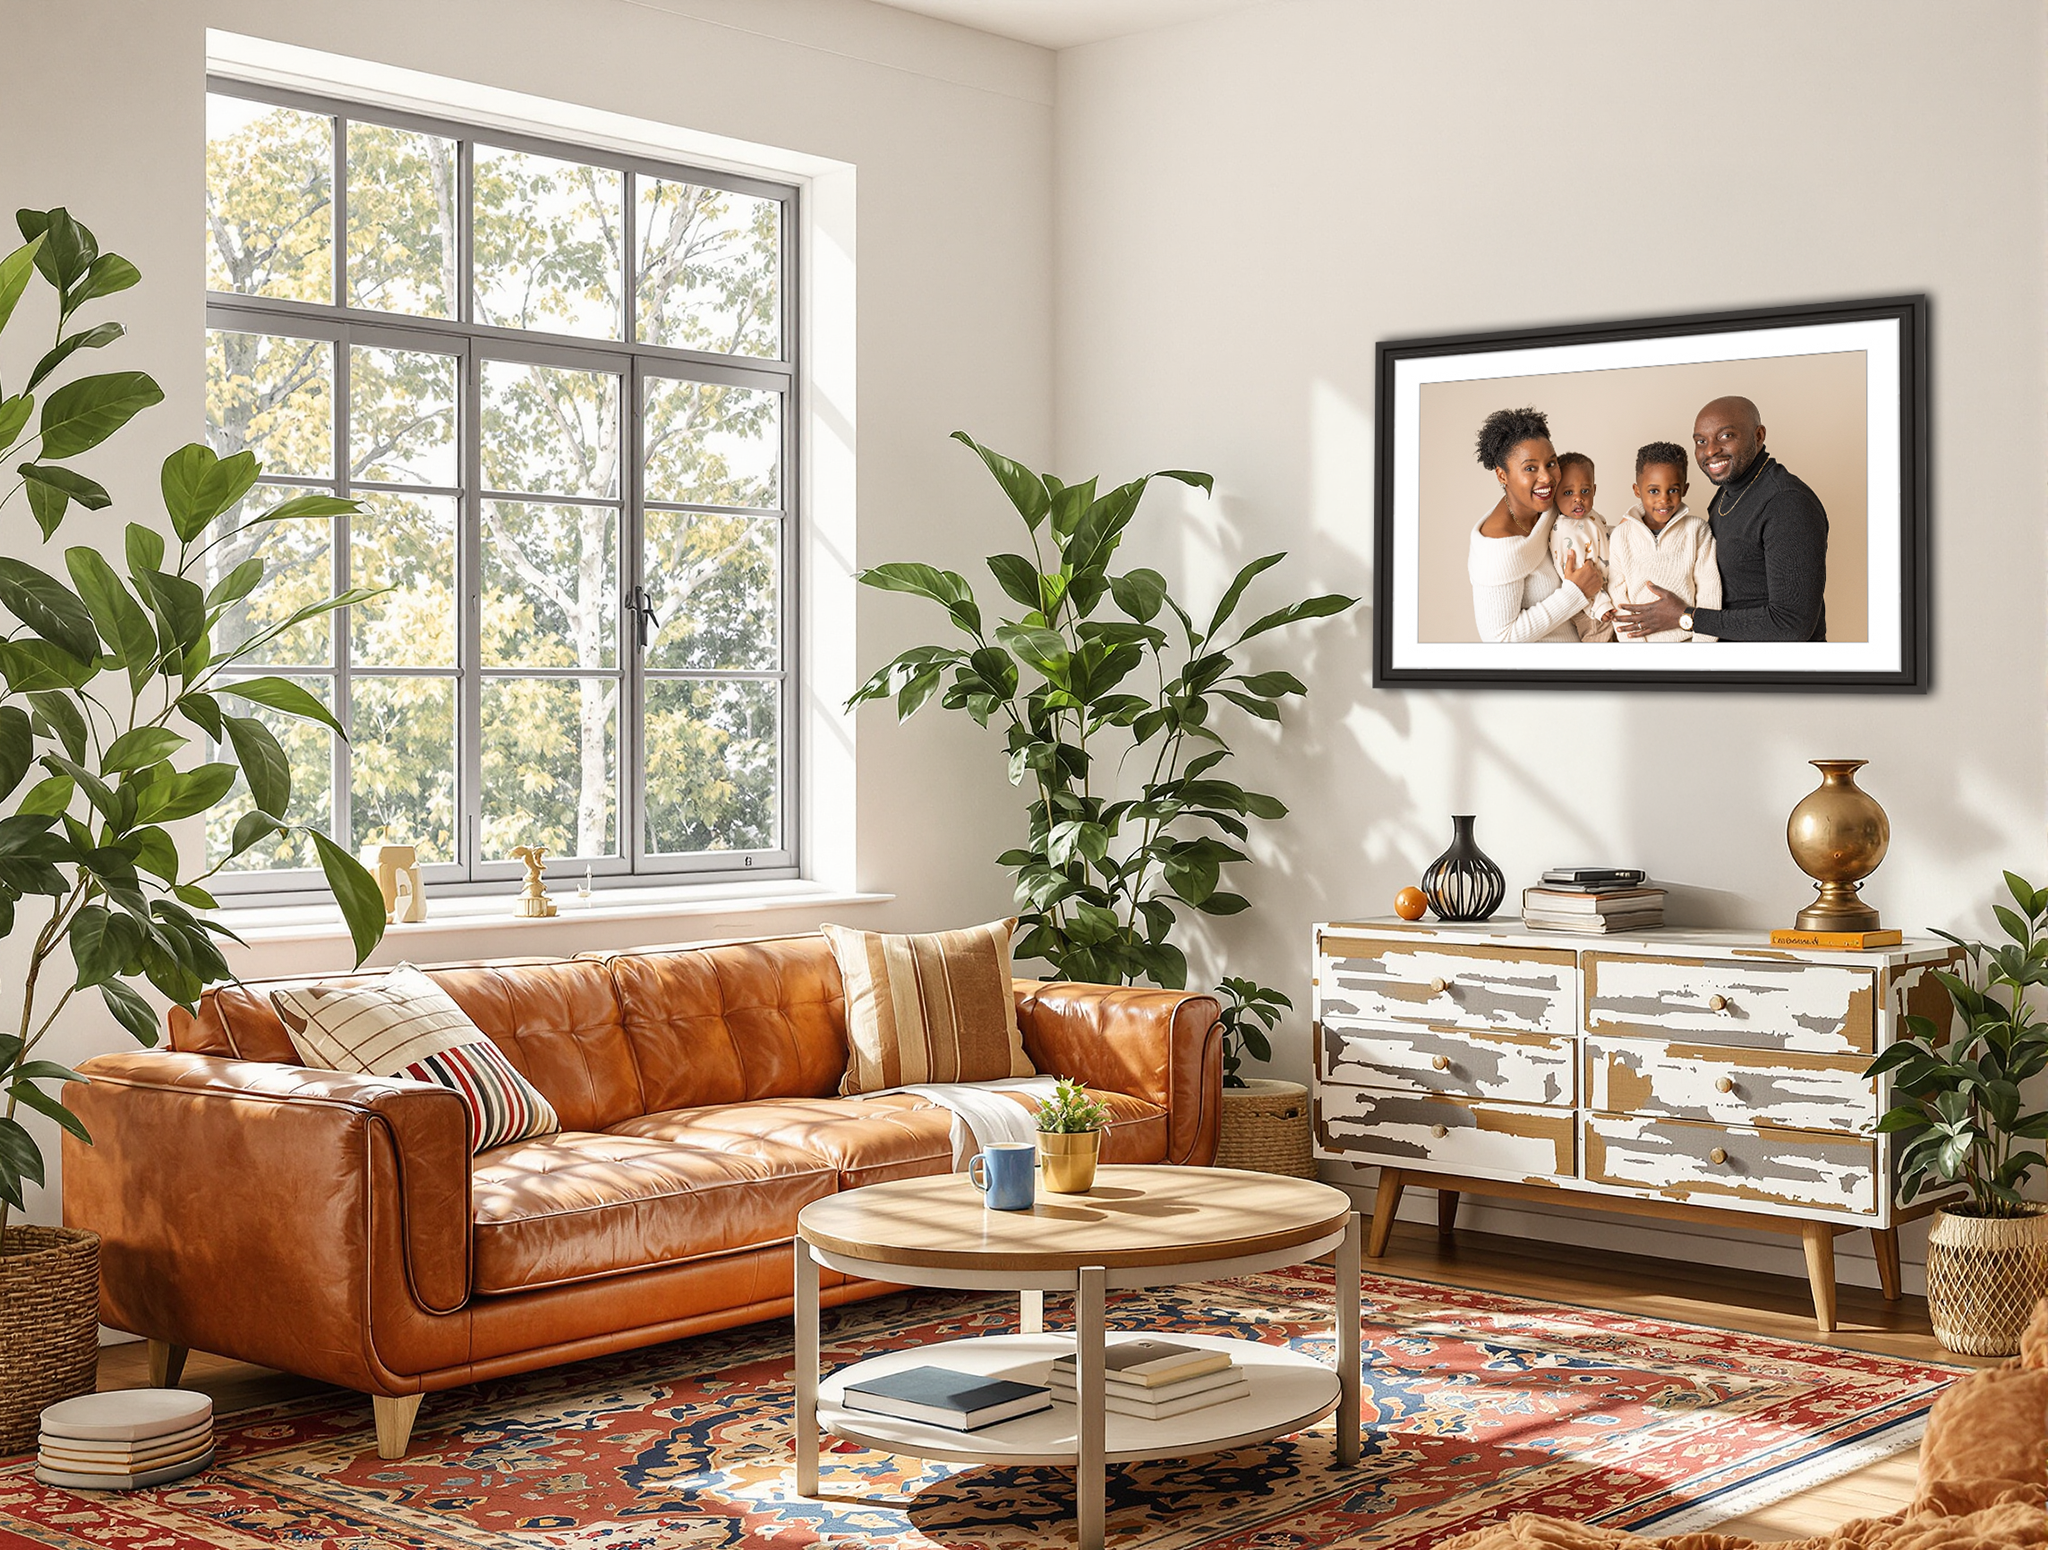
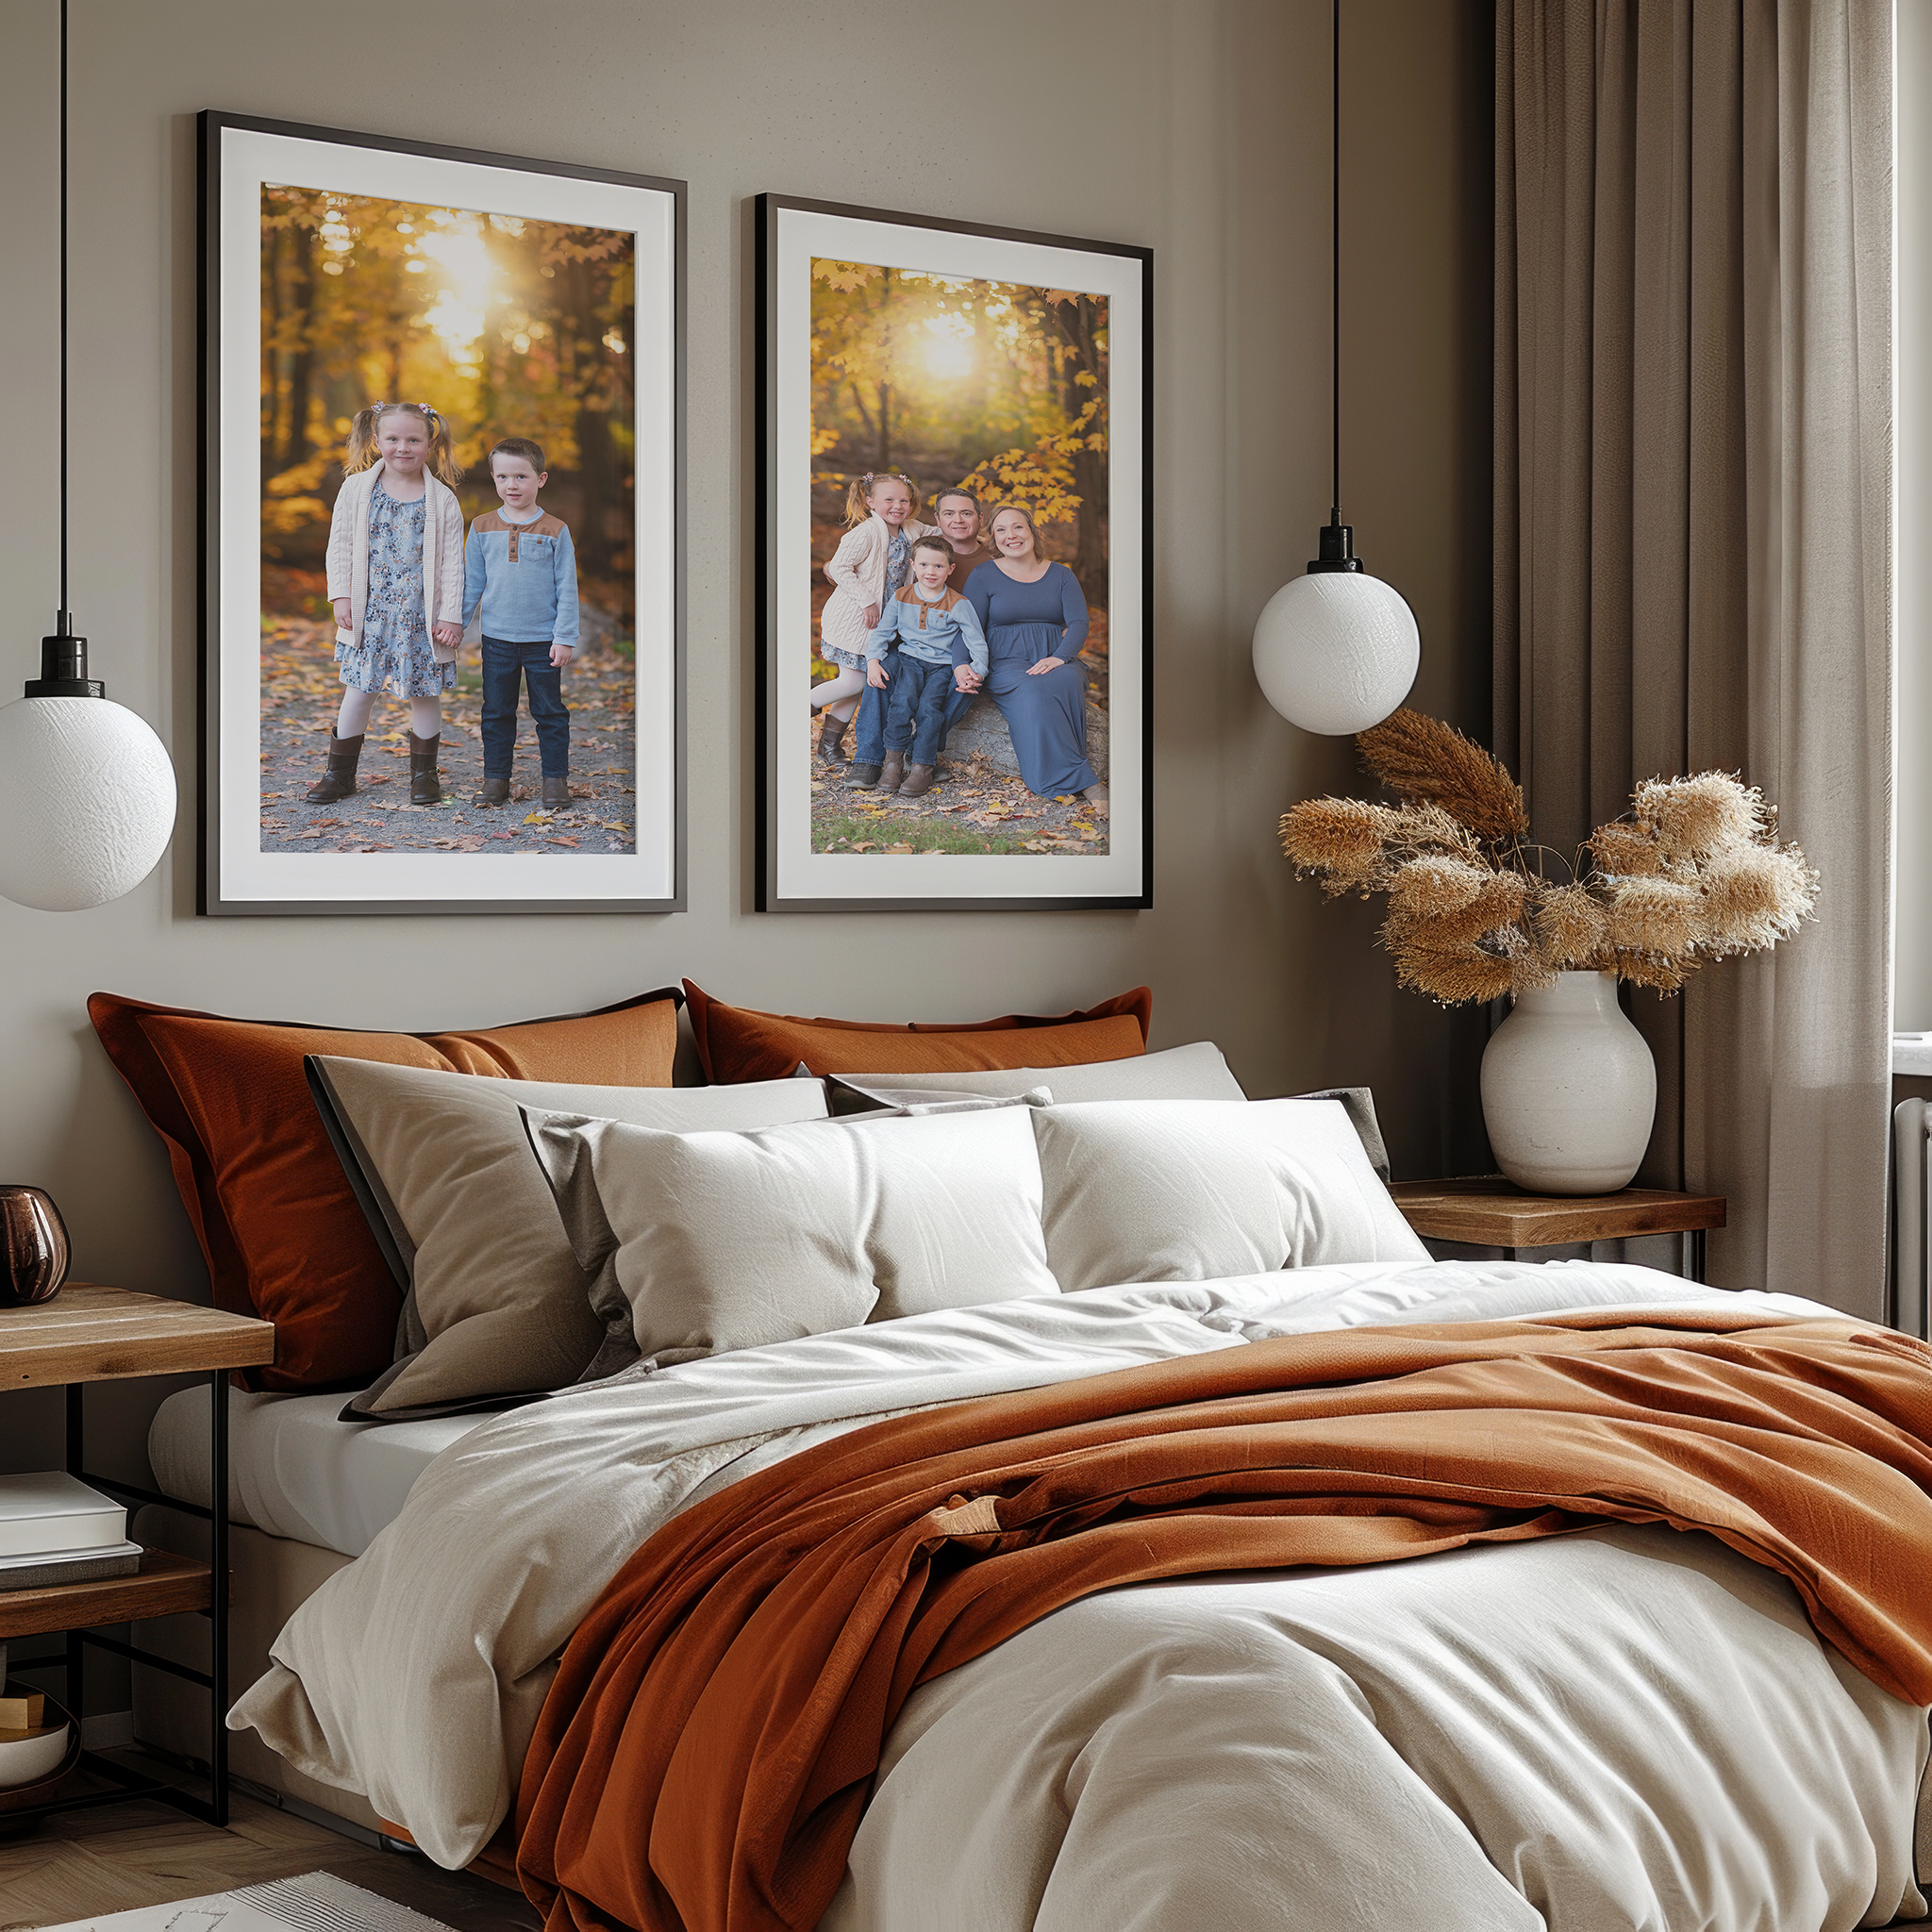
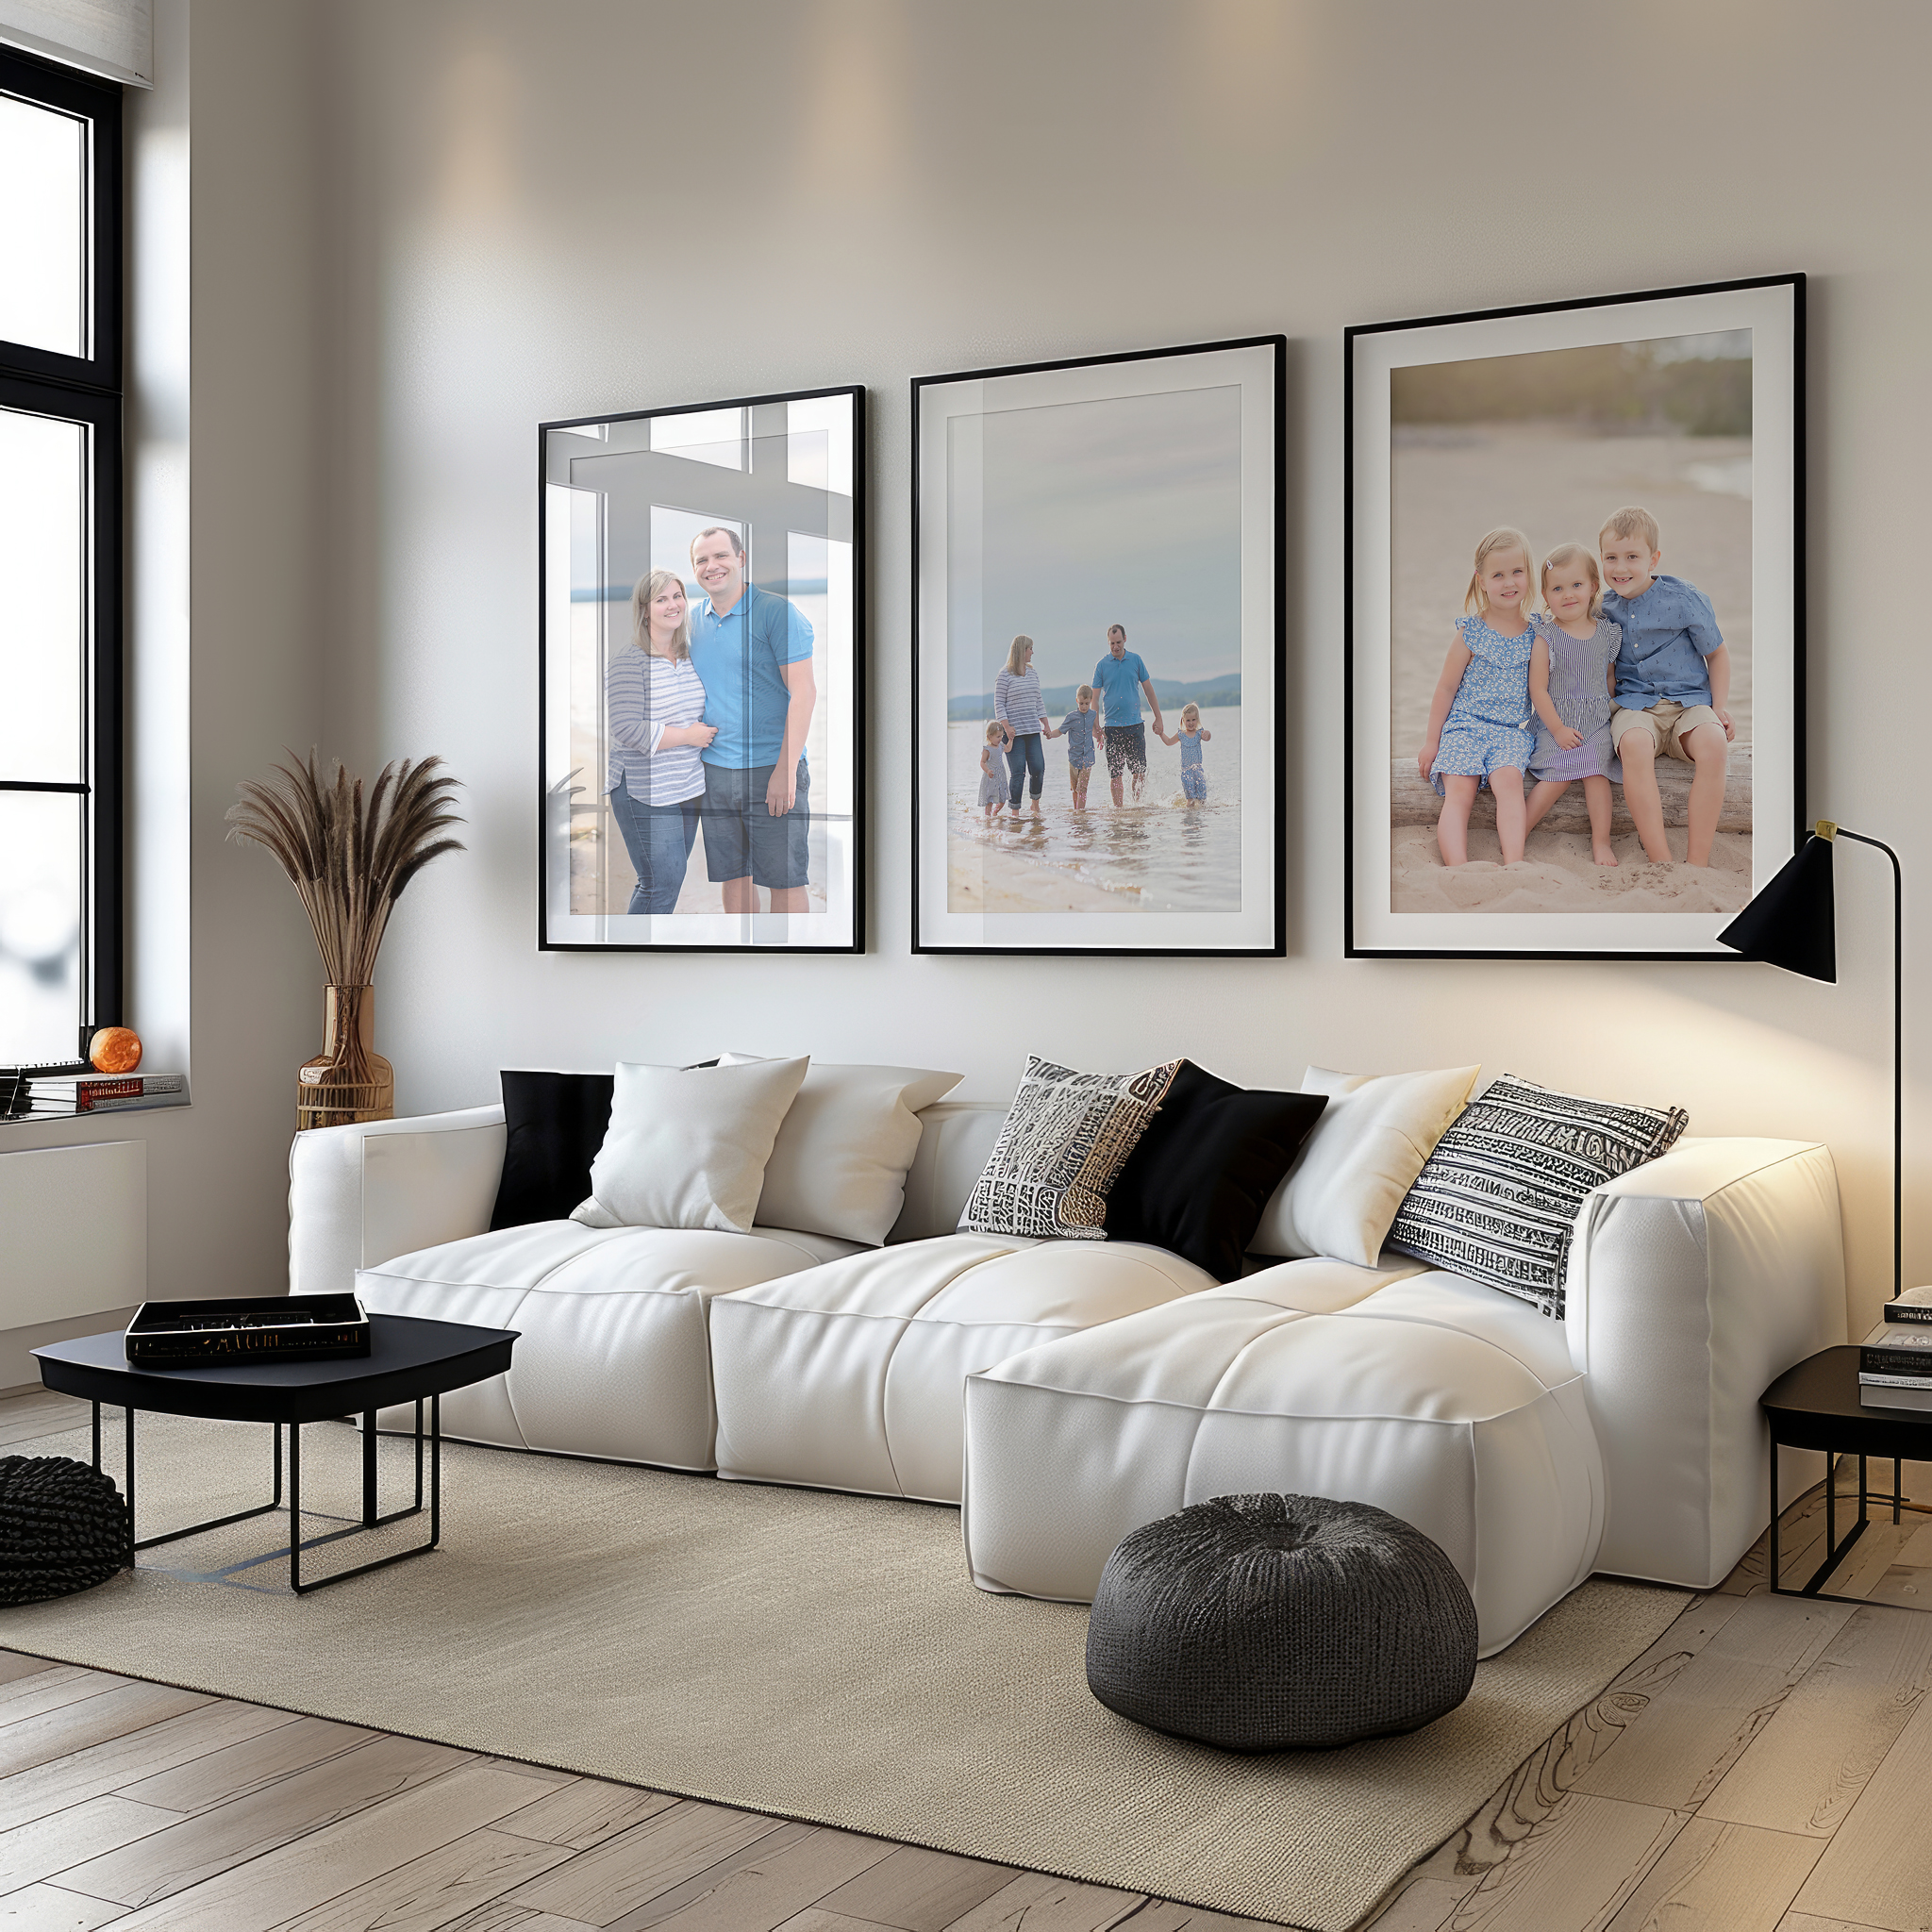
Taking the time to photograph your walls properly allows us to create true-to-scale wall art previews that show your portraits exactly as they’ll appear in your home. Once you see how perfectly the artwork fits, you’ll feel confident in your size and framing choices.
Learning how to photograph your walls for artwork mockups gives you a clear visual of your investment — transforming a simple idea into a beautiful, tangible plan for your home décor.
Ready to Get Started?
Now that you know how to photograph your walls for artwork mockups, gather your paper, grab your phone, and send us your photos. We’ll use them to design realistic wall art mockups tailored to your space.
If you are sending your wall photos in preparation for your Session Premiere, please plan to send them at least 1 day in advance of your appointment.
Click the button below to submit your wall photo(s).
New to Diamondview Photography?
Learn more about our portrait experience and how we turn your memories into timeless heirloom artwork.